How to perform continuous glucose measurement in dogs and cats
Continuous glucose measurement is being used increasingly commonly in our small animal patients as an alternative to blood glucose curves. These devices allow us to measure glucose levels in a non-invasive way, minimising handling and avoiding repeated venepuncture. This in turn reduces patient stress and the effect on blood glucose levels.
But what are continuous glucose monitors, how do they work, and can you trust their results? In this post, we’ll be talking all about how continuous glucose monitors work, how to apply them, and sharing my top tips to use them successfully.
What are continuous glucose monitors?
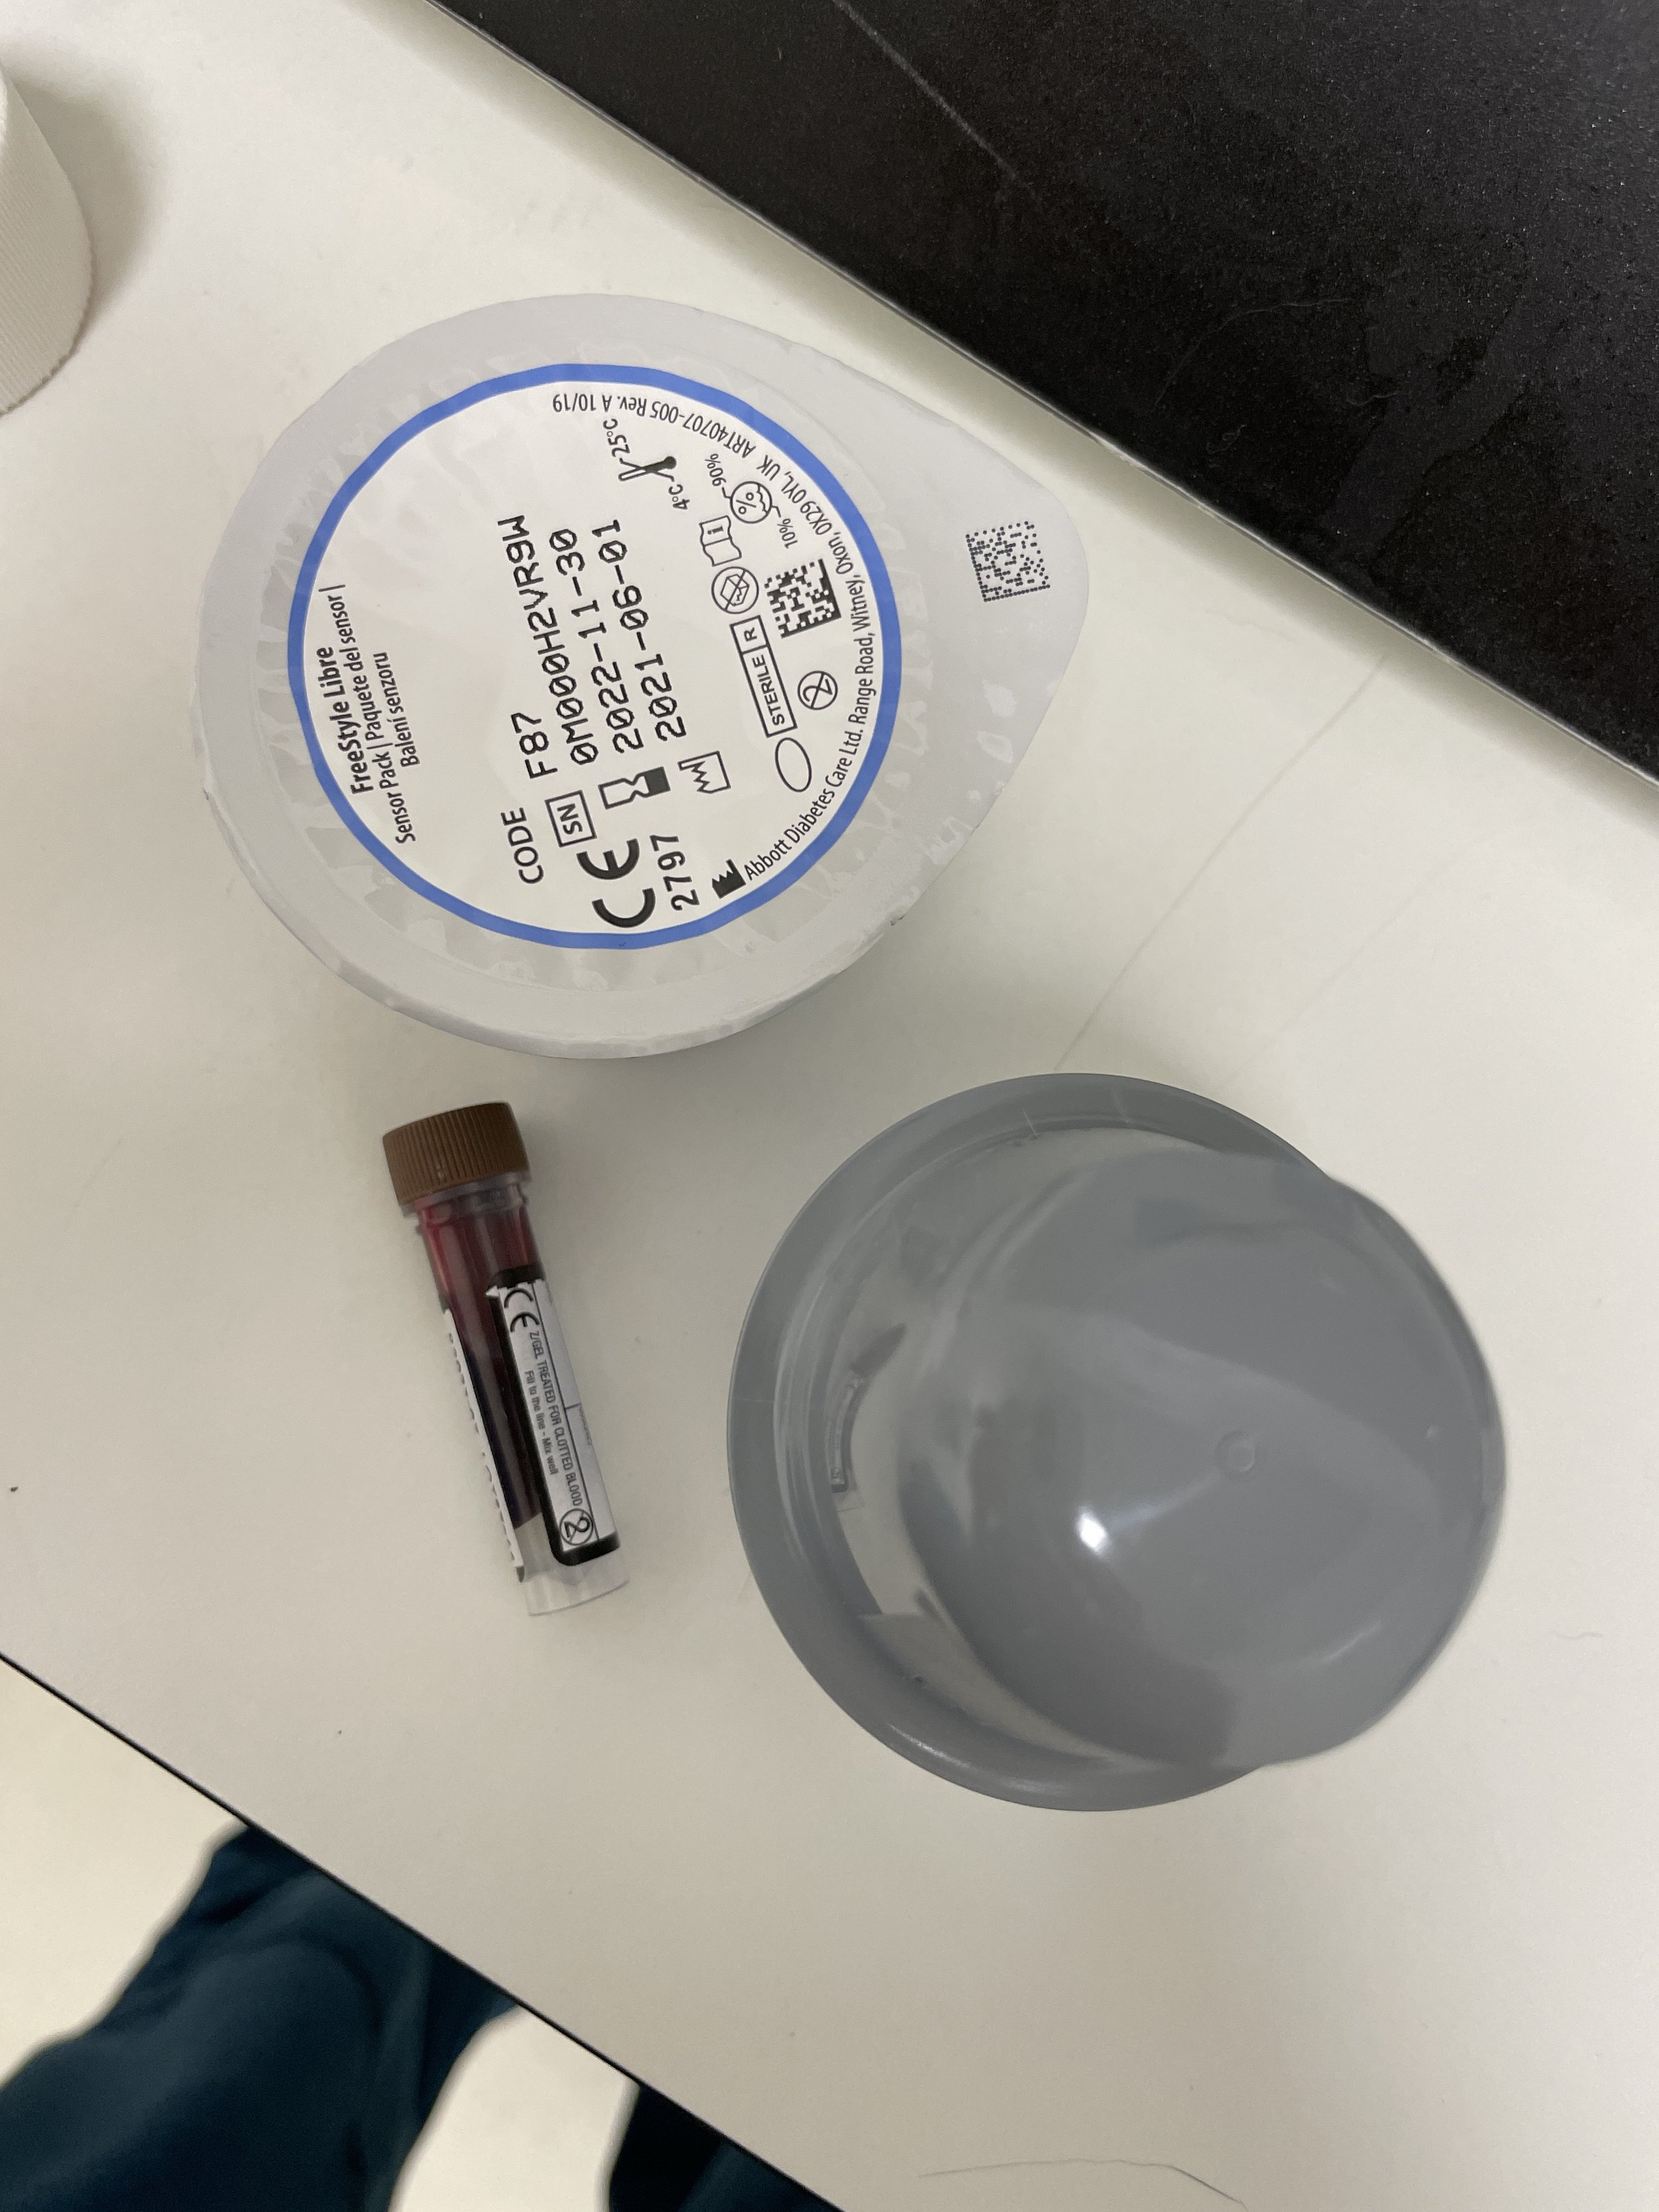
Continuous glucose monitoring systems (or flash glucose monitoring systems) are devices designed for diabetic humans. There are a few different types available, but in this post, I’ll be talking specifically about the FreeStyle Libre (Abbott) as it is, in my experience, the most widely used in veterinary patients.
Continuous glucose monitoring systems consist of an adhesive sensor (around the size of a £2 coin) which contains a small probe. This probe sits underneath the skin and continually measures the glucose levels in the interstitial fluid.
The sensor is read using either a smartphone app or a dedicated FreeStyle Libre reader (a small device that looks similar to a glucometer). Each sensor lasts for up to 14 days, and data from the sensor needs to be downloaded to the reader/app at least once every 8 hours (as each sensor can only store 8 hours’ worth of data at any time).
Advantages
The monitoring system is minimally invasive
It is generally very well tolerated - most patients forget it is there once it has been applied!
It provides more information on a patient’s glucose levels than a blood glucose curve (24/7 data for up to 14 days)
It is a cost-effective method of monitoring - the cost of the sensor excluding markup/VAT is generally around £50
The device is left in place and can be used easily at home
Disadvantages/Considerations
The sensor does not record detailed glucose levels above 27.8mmol/L (these are recorded as ‘Hi’) so limited data will be available in persistently hyperglycaemic patients
The device is not validated in veterinary patients, but studies in dogs have reported accuracies of 93-99%. Very limited data is available on the use of FreeStyle Libres in feline patients
The device measures interstitial glucose levels, rather than blood glucose. Whilst the two generally correlate well, there can be a delay (of up to several minutes) until the two measurements are equal. This can mean that rapid fluctuations in glucose levels might be missed by the reader. This is a particular concern where you suspect a patient may be having hypoglycaemic episodes; if this is suspected, checking blood glucose levels using a glucometer is also recommended.
As the device measures interstitial glucose levels, readings may be inaccurate in a dehydrated patient (due to a reduction in interstitial fluid levels). Application in euhydrated patients, or correction of any dehydration before sensor application, is recommended.
How is the sensor applied?
To apply a FreeStyle Libre sensor you will need:

A sensor
Tissue glue
Clippers
Alcohol skin wipes
Artery forceps
The FreeStyle reader or smartphone app
Before applying the sensor, select an appropriate site for application. This should be in an area where there is limited movement, decent body condition, and in an area where the patient cannot easily scratch or interfere with the sensor. I tend to apply the sensor to the dorsolateral aspect of the chest in dogs (behind the shoulder), and the side of the neck in cats.
Once you’ve selected a spot, clip a 5x5cm patch as closely to the skin as possible whilst minimising any clipper rash. Clean the area with alcohol to remove dirt/oils and prepare the skin for sensor application, then let the alcohol evaporate.
Whilst the alcohol evaporates, prepare the sensor. The sensor comes with an applicator ‘stamp’ - to load the sensor into the applicator, remove the foil cover from the sensor, and unscrew the plastic cover from the bottom of the applicator. Line up the applicator and sensor, and push the applicator down. This will load the sensor into the applicator.
Next up, apply a small amount of skin glue to the edge of the sensor. The sensors are adhesive, but they’re designed for human skin, so a little extra glue is needed for our patients! I like to apply a small ring of glue to the outer edge of the sensor (avoid getting any on the inside of the applicator). Just make sure you don’t get any on the probe or surrounding areas in the middle of the sensor.
Now it’s time to apply your sensor. Simply line the sensor up in the middle of your clipped patch, and press firmly. The applicator will make a ‘click’ sound that can startle your patient, so it’s useful to have someone distracting them at this point. Hold the applicator in place for a couple of seconds, then slowly and carefully lift the applicator, leaving the sensor in place. Whilst removing the applicator, it’s useful to use a pair of artery forceps to ‘help’ the sensor out of the applicator and hold the sensor in place on the skin. I then like to pop a little extra glue around the edges of the sensor to make sure it stays in place.

Using the sensor
Before the sensor can be used, it needs to be activated. This is done by scanning the sensor either with the reader or smartphone app - the sensor will then begin ‘starting up’ and will begin providing glucose readings in 60 minutes. After this initial startup period, the sensor will then measure glucose levels every minute.

The sensor can be scanned at any point to find out the patient’s glucose levels at that moment. The sensor data is also pushed to an internet platform (LibreView) where it is plotted on a graph. Clients have their own LibreView account, and this is linked to a practice dashboard, so the veterinary team can also log in remotely and see their patient’s glucose data, even when the patients aren’t in the building!
This is useful as we can use this information to advise clients on dosage changes at home and monitor the patient’s response to these changes without needing to admit them for repeated glucose curves.
A few points about sensor care
Veterinary nurses are commonly involved in applying these sensors, showing clients how to use them, and downloading the results. It’s therefore really important that we understand how the sensors work and advise clients on their use/care. A few points to mention to your clients are:
Not allowing dogs to swim or bathe with a sensor in place
Ensuring clients know that though the sensors can last up to 14 days, the full 14 days is not guaranteed in veterinary patients, and sensors may not last this long (particularly in cats)
Any glucose ‘first aid’ requirements at home - e.g. what to do if the glucose level is below a certain cutoff value around the time of insulin administration (for example, we usually tell our clients not to give the insulin if their pet’s glucose level is below 10mmol/L at the time of injection)
So, continuous glucose monitors are a great new alternative to glucose curves in our diabetic patients. But, as we’ve discussed, they won’t be suitable for every patient - for example, emergency/unstable patients who have not had any initial stabilisation, dehydrated patients, and patients where we want to catch rapid fluctuations in glucose levels. However, for many patients, they will provide us with more information than we can gather using traditional monitoring, and minimise venepuncture, stress and hospitalisation.
Do you use continuous glucose monitors in your practice? Let me know below!
References and Further Reading
Linklater, A. undated. Continuous Glucose Monitoring in Veterinary Patients. Today’s Veterinary Practice [Online]. Available from: https://todaysveterinarypractice.com/continuous-glucose-monitoring-in-veterinary-patients/
Hammond-Lenzer, M. et al. 2019. Flash Glucose Monitoring with FreeStyle Libre in Cats and Dogs. VIN [Online]. Available from: https://veterinarypartner.vin.com/default.aspx?pid=19239&id=9150771
Fennell, C. 2020. How to place a FreeStyle Libre in veterinary patients. The Veterinary Nurse [Online]. Available from: https://www.theveterinarynurse.com/review/article/how-to-place-a-freestyle-libre-in-veterinary-patients
Koening, A. et al. 2016. Effect of sensor location in dogs on performance of an interstitial glucose monitor. Journal of American Veterinary Research, 77(8), pp. 805-817.
Hafner, M. et al. 2013. Evaluation of sensor sites for continuous glucose monitoring in cats with diabetes mellitus. Journal of Feline Medicine and Surgery, 15(2), pp. 117-123.